服务器的配置和使用
深度学习环境配置包括 显卡驱动 + anaconda + cuda + cudnn + pytorch/tensorflow(GPU版)
它们之间的关系如下:
cuda版本与显卡驱动有关,在这里可查看二者的版本关系
cudnn与cuda版本有关,在这里可查看二者的版本关系
pytorch与cuda版本有关,在这里可查看二者的版本关系
tensorflow和gcc、cuda版本有关,在这里可查看它们的版本关系
因为实验室的服务器已经有同学在使用所以基本环境都已装好,只需在anaconda中创建一个新的虚拟环境安装pytorch/tensorflow即可,这样更方便更安全,避免和其他同学的环境产生冲突。所以这里也只记录了在显卡驱动、anaconda、cuda、cudnn都已装好的服务器中,第一次使用前所需要做的准备。
(由于笔记本使用win10系统,实验室台式机使用Linux系统,所以文中图片可能会出现两种系统下的截图,但两种系统下的方法是一样的)。在Windows系统中使用xshell远程连接服务器,Linux系统在终端或VsCode中可远程连接服务器。
一、了解服务器基本信息
1、硬盘大小及剩余容量
df -lh
2、显卡信息
lspci | grep -i nvidia 或 lspci | grep -i vga
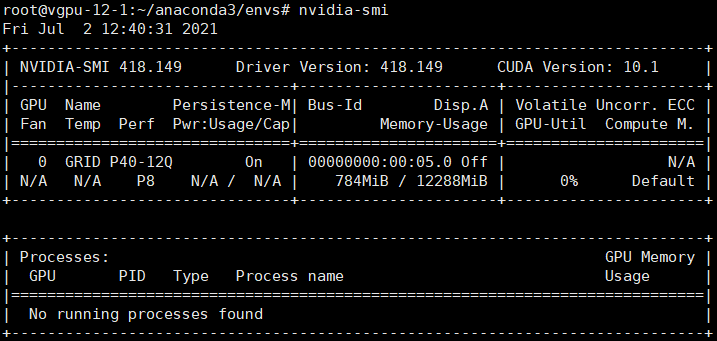
3、显卡驱动
nvidia-smi
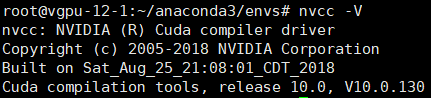
4、查看cuda版本
nvcc -V
5、查看cudnn版本
cat /usr/local/cuda/include/cudnn.h | grep CUDNN_MAJOR -A 2
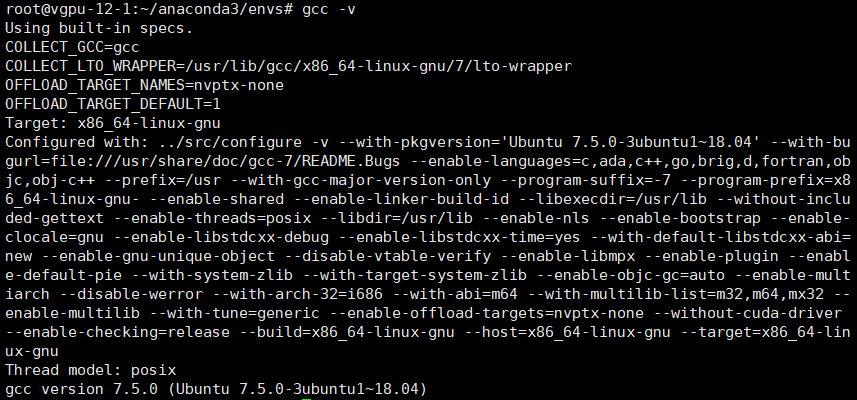
6、查看gcc版本
gcc -v
二、在Anaconda中创建个人环境
1、创建新环境
conda create -n xwj_pytorch python=3.6
2、进入环境
conda activate xwj_pytorch

3、在虚拟环境中安装pytorch
在官网查找对应cuda的pytorch版本
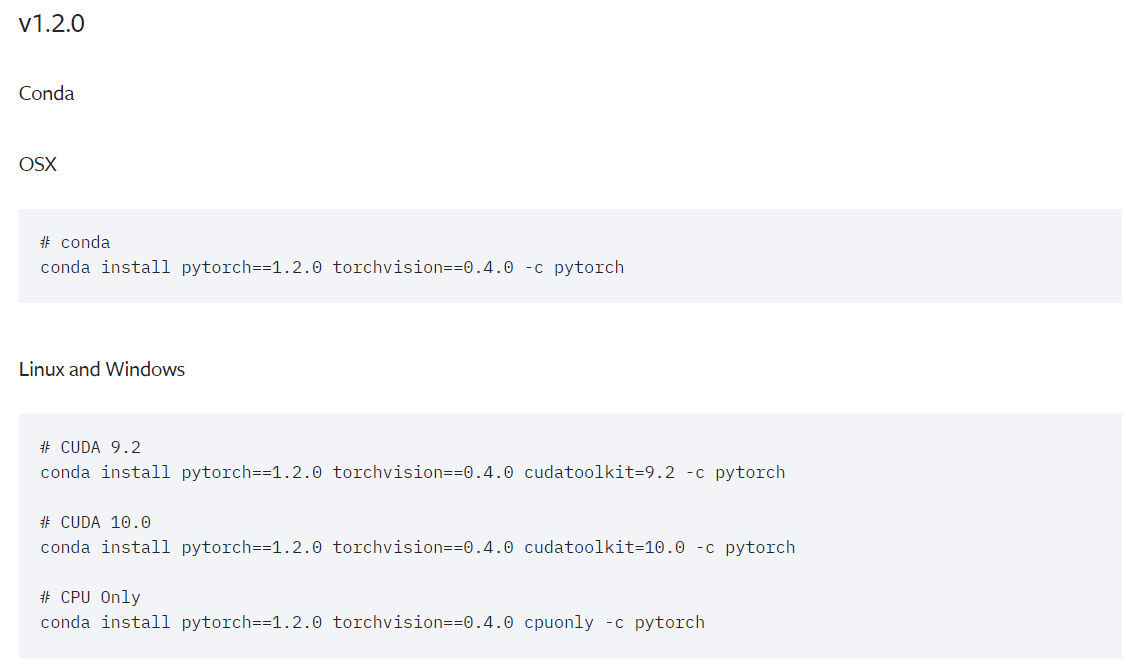
复制命令在终端执行,即可完成安装

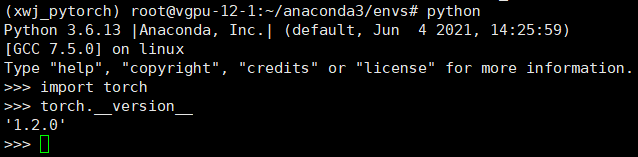
进入虚拟环境中的python,检查pytorch是否安装成功是否可用
pytorch中可通过如下代码查看可用显卡的数量和信息
import torch
print([torch.cuda.get_device_properties(i) for i in range(torch.cuda.device_count())])
pytorch中设置可用显卡
import os
os.environ["CUDA_VISIBLE_DEVICES"] = '0,1'
4、安装tensorflow
查看gcc版本 gcc -v
在tensorflow官网查看版本匹配

为了避免和其他环境中的模块版本产生冲突,可按照1、2步骤重新创建一个新的虚拟环境,并进入该虚拟环境
创建环境 conda create -n xwj_tensorflow python=3.6
进入环境 conda activate xwj_tensorflow

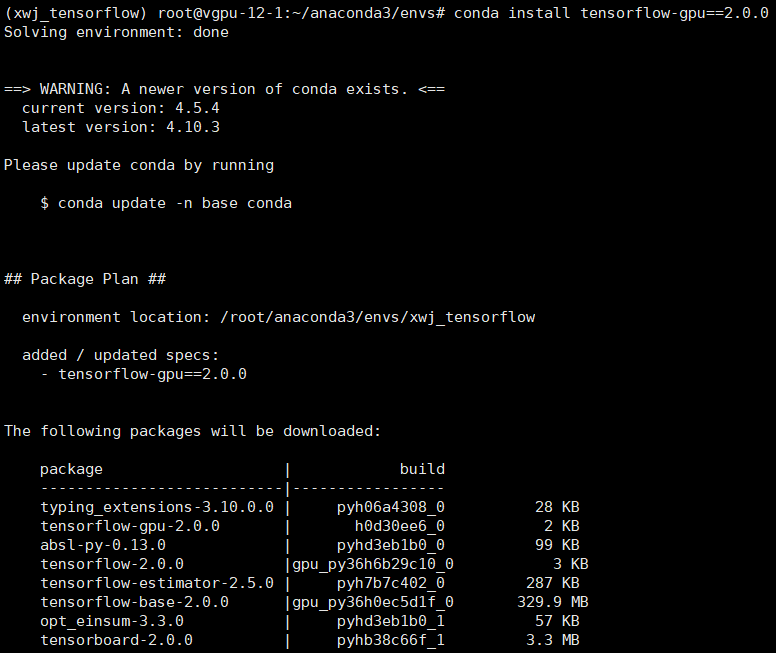
安装GPU版tensorflow conda install tensorflow-gpu==2.0.0
参照3中的方法进入虚拟环境的python,检查tensorflow是否安装成功,是否可用
三、VsCode的使用
可以使用Pycharm或Vscode作为本地的python代码编辑器。因为还要远程连接服务器,而Pycharm中只有pro版有此功能,虽然可以使用学生身份申请免费使用pro版,但是为了方便这里直接用vscode。下面列出了使用vscode时遇到的一些问题。
1、在vscode中使用anaconda环境里的python解释器无效
vscode中可点击左下角选择python解释器。在确保已前面步骤都正确,但是选择anaconda中已安装好的pytorch虚拟环境里的python解释器后,运行代码时仍出现如下报错

解决:在setting.json文件中注释掉原来的 python.pythonPath,添加如下代码,其中第七项 “python” 更改为anaconda中虚拟环境里python的路径
{
    // "python.pythonPath": "/home/lab406/anaconda3/envs/pytorch/bin/python"
    "code-runner.executorMap": {
        "javascript": "node",
        "java": "cd $dir && javac $fileName && java $fileNameWithoutExt",
        "c": "cd $dir && gcc $fileName -o $fileNameWithoutExt && $dir$fileNameWithoutExt",
        "cpp": "cd $dir && g++ $fileName -o $fileNameWithoutExt && $dir$fileNameWithoutExt",
        "objective-c": "cd $dir && gcc -framework Cocoa $fileName -o $fileNameWithoutExt && $dir$fileNameWithoutExt",
        "php": "php",
        "python": "~/anaconda3/envs/pytorch/bin/python",
        "perl": "perl",
        "perl6": "perl6",
        "ruby": "ruby",
        "go": "go run",
        "lua": "lua",
        "groovy": "groovy",
        "powershell": "powershell -ExecutionPolicy ByPass -File",
        "bat": "cmd /c",
        "shellscript": "bash",
        "fsharp": "fsi",
        "csharp": "scriptcs",
        "vbscript": "cscript //Nologo",
        "typescript": "ts-node",
        "coffeescript": "coffee",
        "scala": "scala",
        "swift": "swift",
        "julia": "julia",
        "crystal": "crystal",
        "ocaml": "ocaml",
        "r": "Rscript",
        "applescript": "osascript",
        "clojure": "lein exec",
        "haxe": "haxe --cwd $dirWithoutTrailingSlash --run $fileNameWithoutExt",
        "rust": "cd $dir && rustc $fileName && $dir$fileNameWithoutExt",
        "racket": "racket",
        "scheme": "csi -script",
        "ahk": "autohotkey",
        "autoit": "autoit3",
        "dart": "dart",
        "pascal": "cd $dir && fpc $fileName && $dir$fileNameWithoutExt",
        "d": "cd $dir && dmd $fileName && $dir$fileNameWithoutExt",
        "haskell": "runhaskell",
        "nim": "nim compile --verbosity:0 --hints:off --run",
        "lisp": "sbcl --script",
        "kit": "kitc --run",
        "v": "v run",
        "sass": "sass --style expanded",
        "scss": "scss --style expanded"
    },
    "code-runner.runInTerminal": false
}
保存后再次运行如下代码

可正常使用了(若依然无法使用则重新启动VsCode即可)

2、在vscode中远程连接服务器
首先在vscode中安装 Remote - SSH 插件

点击Configure图标,选择ssh配置

输入主机名称(自定义)、主机IP、用户名、端口号(可选)

点击该主机名,右键可选择在当前窗口或新窗口连接服务器

然后输入密码登录服务器

3、同步本地代码到服务器
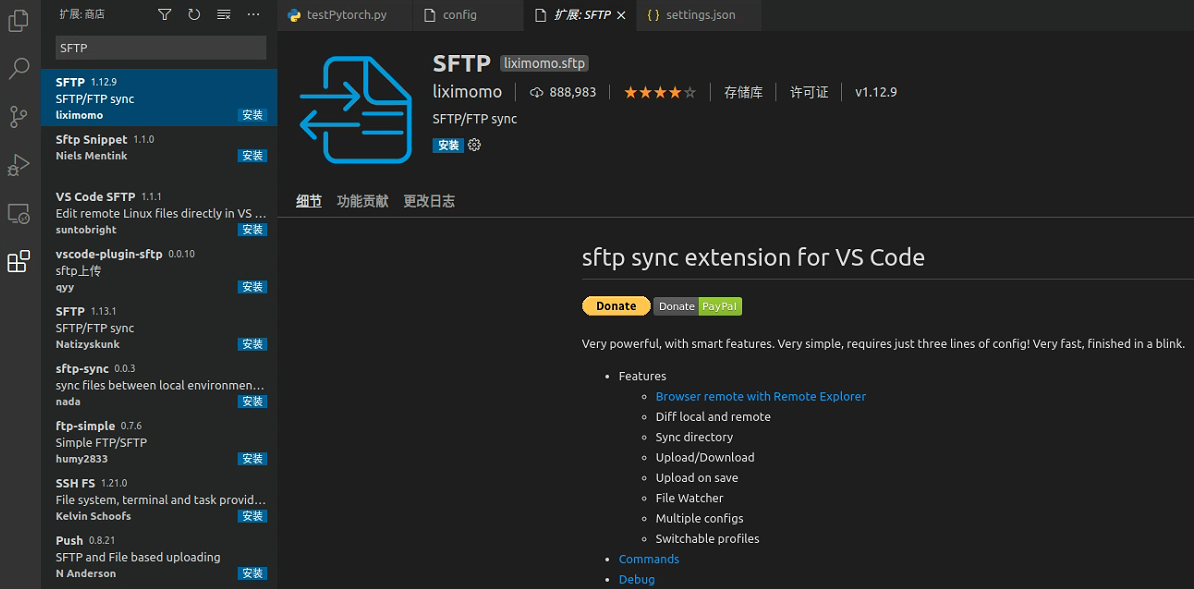
(1)安装SFTP插件
(2)配置
输入 ctrl+shift+p打开输入框输入 SFTP:Config,此时会在 .vscode 目录下生成 sftp.json 文件,配置主机名称、IP、协议、端口、用户名、远程同步地址、本地保存时是否同步上传到服务器(不包括重命名和删除操作)、上传时忽略的文件

(3)上传
方法一:
输入 ctrl+shift+p打开输入框输入 SFTP:Upload Project,然后选择要上传的项目文件夹,再输入服务器密码即可
方法二:
在命令行中
上传文件夹 scp -r xxx/xxx/文件夹/ 用户名@IP地址:/home/xxx/存放文件夹的目录
上传文件夹中所有文件 scp xxx/xxx/文件夹/* 用户名@IP地址:/home/xxx/存放文件的目录
上传文件 scp 文件1 文件2 文件n 用户名@IP地址:/home/xxx/存放文件的目录
遇到的问题:在上传时,若遇到服务器文件夹为 root 用户创建则无法写入,会出现 “Permission denied, please try again”错误。
解决:在服务器上为文件夹授权, chmod 777 由root创建的文件夹
然后可在xshell登录服务器或在vscode中连接登录服务器打开文件夹,进入虚拟环境,运行代码
4、在vscode中使用python导入不同级目录下的文件时报错ModuleNotFoundError: No module named ‘xxx’
假设文件目录为
-project
  --dir1
    ---file1.py
  --dir2
---file2.py在file2.py中使用from dir1.file1 import xxx导入file1.py里定义的变量或函数时出现报错 ModuleNotFoundError: No module named ‘dir1’
解决:在import之前将文件目录所在路径添加到搜索路径中
import os
import sys
sys.path.insert(0,os.path.dirname(os.path.dirname(os.path.abspath(__file__))))
from dir1.file1 import xxx
这里是把项目 project 的绝对路径插入搜索路径中的第一个位置
其中os.path.abspath(__file__)表示 file2.py 所在的绝对路径
os.path.dirname(os.path.abspath(__file__))为 dir2 目录的绝对路径
os.path.dirname(os.path.dirname(os.path.abspath(__file__))))为项目 project 的绝对路径